DIY Tire Change Made Easy: Here’s How
If there’s no tire service nearby, you can easily do the job yourself. From switching winter to summer tires or quick roadside assistance: we’ll show you how to change your car tires.

Changing car tires: What you need
Hardly anyone has a professional tire changer at home. However, you should check if you have professional automotive tools. Because when it comes to changing tires, there is no room for error—after all, you want to stay safe on the road. In addition to the set of tires, you will need:
- Lug wrench
- Car jack
- Torque wrench
- Wire brush for cleaning
Extra Tip: Rotate your tires regularly when changing them – from back to front, front to back, and diagonally. This ensures they wear down evenly. Simply use chalk to mark where the tire was previously located. If the tread depths differ, the deeper tread should always go on the rear axle.
Changing a Tire: A 3-Step Guide
With a little experience, changing a tire is easy. But even then, you should always keep your vehicle's owner's manual handy. This will show you where to safely place the jack, the correct torque for the lug nuts, the proper tire pressure, and more. Your vehicle is complex, and safety is the top priority. That is why you should always follow the manufacturer's instructions.
With a bit of skill and precision, the job is done in no time. However, if you do not feel confident doing it yourself or lack the right tools, it is best to hire a local tire service nearby.
 Step 1: Preparation
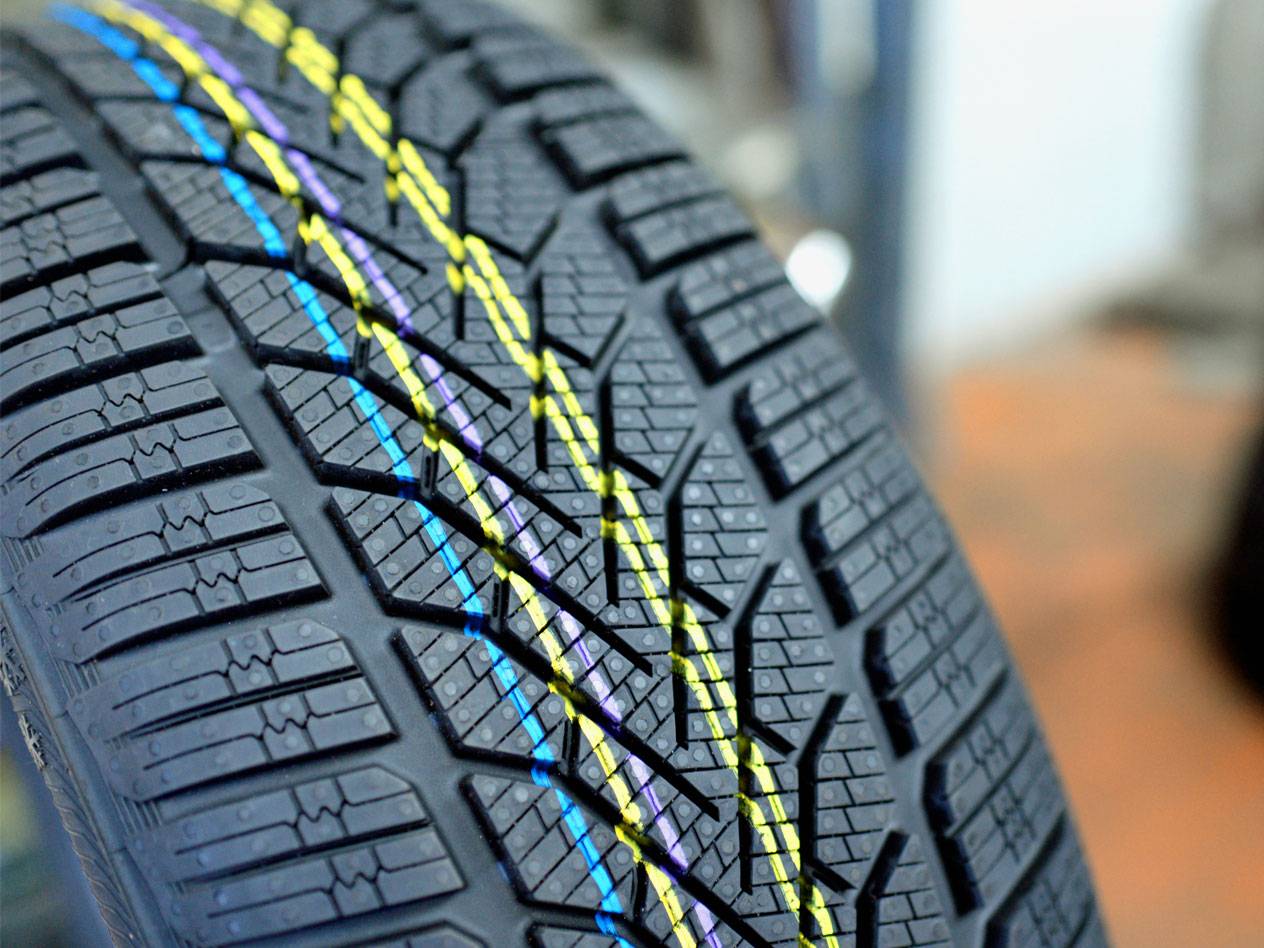
Check the new tires for damage and pay attention to the tread depth – at least 1/16 inch (1.6 mm), and at least 5/32 inch (4 mm) for winter tires. Park your vehicle safely. Engage the parking brake and shift into first gear (or position P for automatic transmissions).
 Step 2: Remove the tire
Remove the hubcaps and loosen the lug nuts in a cross pattern using the lug wrench. Do not turn them more than a 1/4 turn. Position the jack and raise the car until the wheel spins freely. Unscrew the lug nuts completely and pull the wheel off.
 Step 3: Mount the tire
Place the tire onto the wheel hub, align the rim holes, and tighten the bolts in a cross pattern. Lower the vehicle, then tighten the bolts to spec using a torque wrench. Check the tire pressure (using a compressor or at a gas station). Direct TPMS must be reprogrammed by a professional during a tire change.
Pro tip: When you change your tires, you can also clean the wheel arch at the same time. This removes dirt and debris that can lead to rust. Plus, it's a great opportunity to clean your brakes. Use a special cleaner for this and remove any rust with a wire brush. If you notice any defects or heavy wear, you should consult a professional.
After the Change: How to Store Tires Correctly
To ensure you can continue to rely on your winter or summer tires during the next tire change, store them correctly. This prevents damage and dirt. Here is what is important:
- Inflate the tires to about 7 psi (0.5 bar) above the manufacturer's specification. This way, it won't matter if the tires lose some air during storage.
- Store them in a dry, dark place. In the garage, for example, make sure they are protected from frost.
- If you store the tires without rims, they must stand upright and be rotated every few weeks. This helps them keep their shape. Alternatively, you can stack them – but due to the pressure on the bottom tires, stack a maximum of four on top of each other.