Mastering the planer: Where the wood chips fly
Like drilling or sawing, planing is one of the essential techniques in woodworking used to level and smooth surfaces. Today, both traditional hand planers and modern electric planers are used for these tasks.
In this article, you will find practical tips, a step-by-step guide to planing flat wooden surfaces, and answers to the most frequently asked questions about planing, so you are fully prepared for any project.
Would you like to properly adjust your planer blade or simply sharpen it to achieve the best results? Then check out our other articles all about planing!

The Hand Planer: A Definition
A hand planer is used to remove shavings from the surface of a workpiece. This allows you, for example, to flatten different types of wood, reduce material thickness, or smooth surfaces. Generally, there are three main types of planers: wooden hand planers, metal hand planers, and electric planers.
All of them feature the following basic elements:
- Planer body: The sole of the planer guides the blade or iron, which removes the shavings.
- Planer iron or blade: The blade cuts shavings from the material and "chips" it away.
- Clamping device: This secures the planer iron in place.
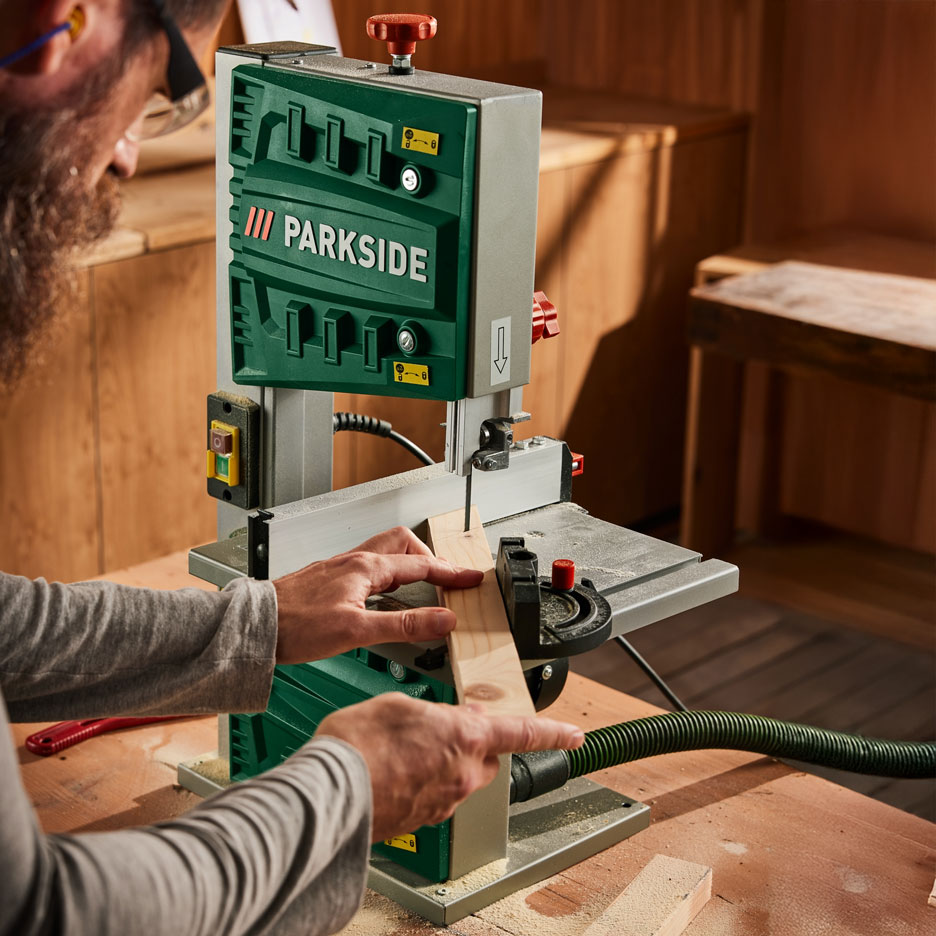
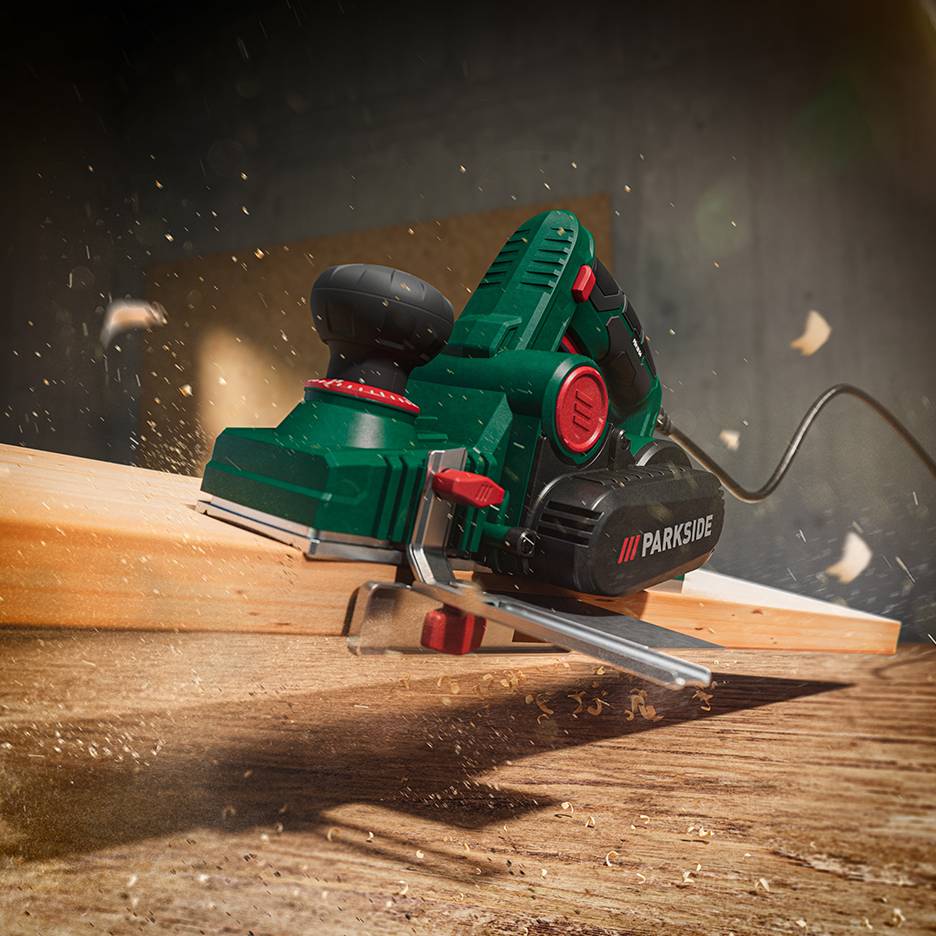
Wooden and metal planers are types of manual hand planers. However, these are not named after the material they work on, but rather differ in the construction of the planer body. The wooden planer features a wooden body, whereas the body of the metal planer is crafted from tool steel. The electric planer is driven by an electric motor with a timing belt and operates similarly to a router. It features two or more blades that remove material quickly and precisely. All three tools are excellent choices for your planing projects.
Info
The hand planer is a tool for complex, fine woodworking, such as furniture making. The electric planer is well suited for coarse work such as planing planks and floorboards.
4 Tips for Proper Planing
With a few tips and tricks, different types of wood can be easily worked with both a hand planer and an electric planer.
Tip 1: Check your tools
Sharp planer blades or irons are essential when planing to ensure that the wood fiber is cut precisely rather than torn. Therefore, the blade should be removed from the surface as soon as unevenness occurs. If the blade is uneven, it must be resharpened. A combination stone with a grit of 1000 to 6000 is ideal for this purpose.
Electric planers are usually equipped with reversible blades that can be turned over as soon as they become dull. They are not resharpened, but replaced when wear is advanced.
Choose the right cutting angle for your material
The cutting angle refers to the angle between the blade of the knife and the wood surface. When planing, it is adjusted to suit different types of wood:
Wood Type | Angle |
|---|---|
Softwood | 35°-45° |
Hardwood | 40°-55° |
Tropical Wood | 50°-65° |
Tip 3: Do not remove too much material
To achieve an even surface, do not remove too much material at once. The planer blade can be set to a low cutting depth of 1.5 mm for this purpose. Work the surface in multiple passes to achieve an optimal result. Planing depths of 2.0 to 3.0 mm, on the other hand, are useful when beveling edges.
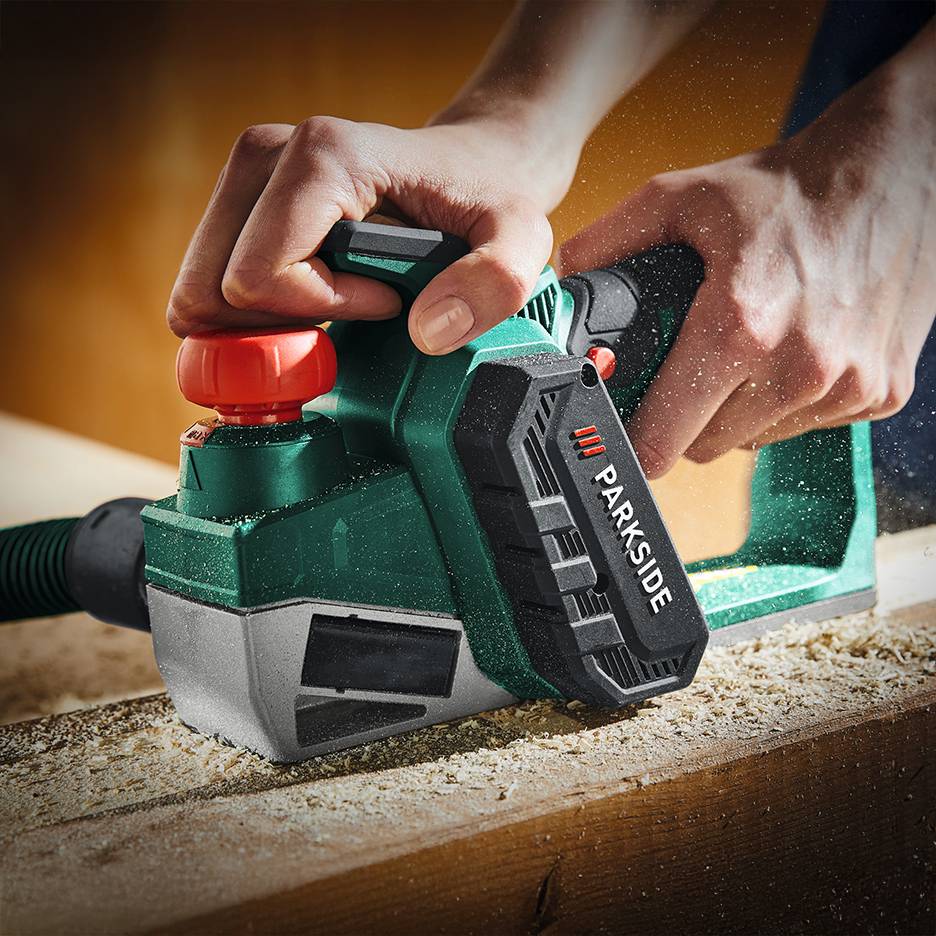
Tip 4: Guide the planer
When planing, it is not just your arms and hands that do the work, but your entire body. A firm stance to the side of the workbench supports power delivery. With every movement, your entire body momentum is carried through. The planer should be guided with little pressure at the beginning. Only at the end of the movement should the pressure be increased.
Questions & Answers
When using a hand planer, the right technique is key. While the work takes more effort and time compared to an electric planer, the surface finish is much better. Planing large areas is significantly faster with an electric planer, but the result is generally less refined. In addition, incorrect operation can cause fine lines perpendicular to the planing direction, known as planer marks, to appear on the surface.
A planer can be used for a wide variety of tasks. Examples include:
- Chamfering: Beveling and rounding off edgesRebating: Cutting recesses, e.g., as a joining technique in furniture making
- Shortening: Adjusting furniture, windows, doors, etc., to restore proper functionality
- Fitting: Adjusting warped wood, e.g., drawers
Regardless of the type of work, you should always ensure that the planing tool is sharp to effectively prevent tear-out.
Summary
Planing is all about practice: the more you do it, the better your results will be. Compared to an electric planer, using a hand planer requires more practice, whereas an electric planer allows you to work on large surfaces quickly and with less effort. For many DIY enthusiasts, it therefore makes sense to have both a compact hand planer and a practical electric planer in their tool cabinet.